Mark 3 Portable AC Review: Unboxing, FAQs and Tips

Summer is just around the corner, and with it, more exciting adventures in the great outdoors. But there's one problem: the heat. Luckily, the ZERO BREEZE Mark 3 portable air conditioner is here to keep you cool, wherever you are. Our Mark 3 community on Facebook has been buzzing with excitement as more customers receive their units and begin testing them in real-life scenarios. From truck campers to boats, users are sharing their experiences, and the consensus is clear: the Mark 3 exceeds expectations!
Let's take a closer look at some of the highlights from our community's unboxing and early testing experiences, and see why the Mark 3 is quickly becoming a must-have for outdoor adventurers.
Unboxing Experience: Real Users, Real Feedback
The excitement is palpable! Here's what a few of our early adopters had to say about their Mark 3 experience:
"Finally! Can't wait to test it in heat, but at least it works."

"Perk 801...Got it a couple days ago and ran tests in my bedroom, to sort of simulate its intended use in my Sienna Minivan Camper.. Running it off one of my Pecron Battery banks. Very successful tests so far."

"OK. A simple run, and all seems to work well."

"Well got the battery all charged up using a Bluetti 200max … no issue. Have had it running for approx 1 hr without the hoses this is what it shows. It's better than the Mark 2. Now to get out on this road trip see how it performs camping…"

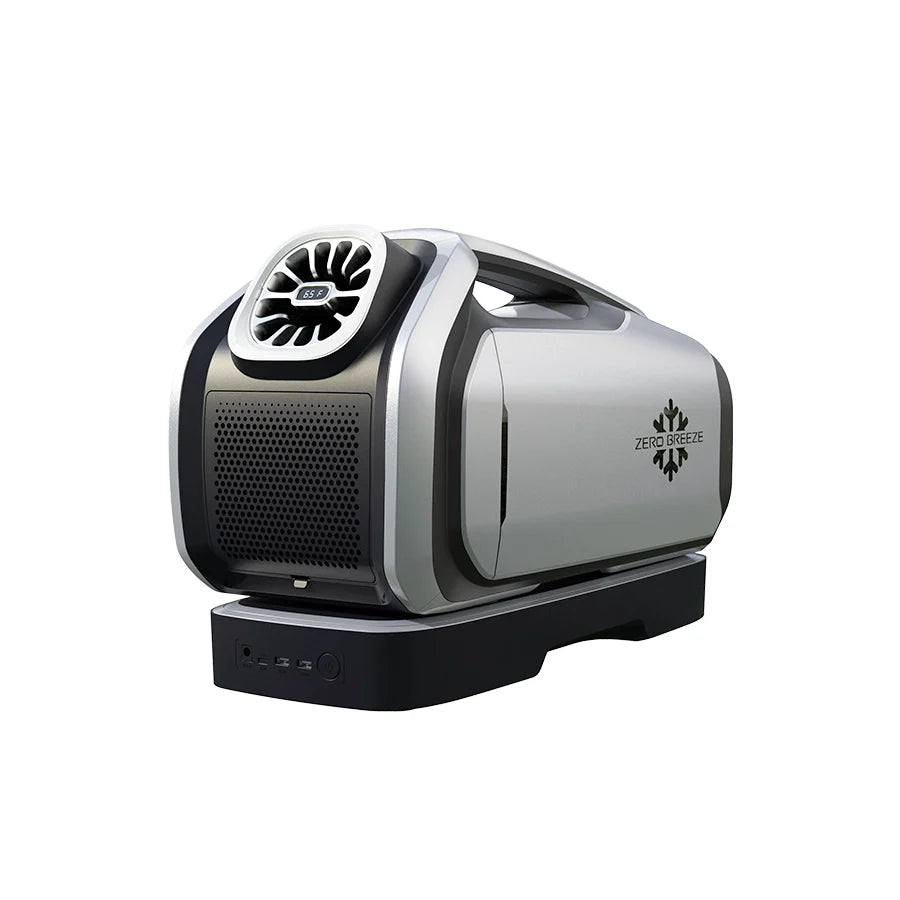
"I was part of the funding group for this new product, it just arrived. It is the new Zero Breeze Mark3. 5200 btu inverter technology. This thing rocks. It only weighs 22 lbs. Can be run off ac, solar or a clip on battery (1022w) It also works as a heater. It comes with hoses to vent out the hot air if needed. Still waiting on the new factory battery that should get here next week. For now I hooked it up to a mini 12v 100ah lithium battery and a small inverter.(less than $200 total) In Eco mode it uses about 200w, in rocket mode it was just over 400w. so a 100ah battery will last 3-6 hours. The ac is 48v so you cant run it directly on 12v. But the factory battery will charge on 12v and can simultaneously charge while being used. So with the factory battery attached, hooked to 12v it would run all night. Also easy to just use a 12v to 48v buck converter. The unit sells for $1299 which is way cheaper than a dc inverter marine AC. I think these will become very popular. I'm using it for boating, camping, garage and when working outside."

@Jay Swan:
"Hello ZB3 community. Double ZB3 battery received today. Happy to report if powered through an inverter and the inverter shuts off for like low power or you just turn it off. There is no interruption in cooling. The ZB3 batteries just pickup and keep going. 2nd note for dual battery owners. The system fully charges one battery then charges the other. Cheers!"

"My ac will be going in my Hiker square drop camper. The window adapter plates were easy to cut and fit in my window frame. Ended up using both pre-cut plates with the included spacers to fit perfectly in the frame and using the sliding window to secure it in place."

"Done with the installation in my truck camper. I have 560 amp hours (7200whr). Running the ZBM3 with a 12v to 48v converter."

@Jason Johnson:
"I received it and have it on the charger now! Very excited! I tried it out the other day with the wall adapter and it was so cold I was shivering! Got down to 43°! I couldn't be happier despite the wait time and have nothing but good things to say about it.
Yes I would totally be willing to do that. I took it into the UPS office today and was showing it to all of the package car drivers (who have no AC in their vehicles by the way), and was telling them how much I would have loved having that when I was doing package delivery because the cargo areas can get up to 130° in the summer and it's miserable to enter. Not that I think the Mark 3 would cool or even contend with that kind of heat but if they had it in the driver cab area they would at least have some child air to cool off with after coming out.
I also gave a demo to some of the other tractor trailer drivers who know how miserable it is to try and sleep in 80° heat at night in the summer and for those of us who do night runs, getting that hour of sleep while we wait for our loads to go down can be life saving so we aren't falling asleep on the road while driving.
I did download the zero breeze app and tried controlling it through the app and it worked somewhat as far as cutting it on and off and changing modes and fan speeds but it didn't seem to want to let me change the temperature at all. Could be an error in my part but even still I'm tickled to death with it. Even the UPS management was interested. I told them you all were a start up and that the price would likely come down if you were to make it into mass production but to keep an out.
Will make some vids this weekend if I get a chance and send them over.
As a side note, when I initially started looking for a mini AC, (which is how I found you all through Google), I initially was looking for something the size of a lunch box, not with the intention to cool an area even greater than 20 sq ft, but just to have something throwing out some cold air that I could hold right in front of my face or attach a small hose to to put under my shirt and get a blast of cold air. Even just something like that would be amazing and to be honest with you would have been even more ideal to someone like me and likely to the package car drivers just so they don't have something bulky in their way. Maybe an avenue to explore down the road but if you all made one I would definitely buy it and showcase it for you all. As a tractor trailer driver out here in Virginia I travel the east coast and stop at many hubs with thousands of drivers so would be happy to show it off."
@Stephen Richardson:
"I want to give Zero Breeze a big thumbs up for the Mark 3. After using the Mark 2 in my camping trailer for the past two summers, I can easily tell even before summer hits that the Mark 3 is noticeably cooler. It also addresses every issue I had with the previous version. The improved remote, upgraded water pump system, and smarter temperature control truly make a difference. They've put a lot of thought into this upgrade. Even the battery has been redesigned for better usability. It's rare to find a product that enhances every aspect, but the Mark 3 does exactly that. It was worth the long wait. Looking forward to this summer!"
Frequently Asked Questions
We're grateful for all the feedback, and many users have also asked helpful questions about using the Mark 3 and its accessories. Here are some of the most frequently asked questions:
How do I run a quick test of the Mark 3?
It's easy! Just follow these 3 simple steps:
- Connect the drainage pipe.
- Plug the Mark 3 into a power source.
- Select your cooling mode.
Let it run for a few minutes to ensure everything works properly.
You can also watch our step-by-step video guide here: Quick Test Guide.
How do I pair the remote control with the Mark 3?
-
Press the "Fan" and "Light" buttons simultaneously on the control panel of Mark 3.
-
Press the "Fan +" and "Light" button simultaneously on the remote control.
Once the signal icon stops blinking, pairing is complete.
How do I switch the temperature unit?
Hold the light button on the remote for a few seconds to switch between temperature units.
How do I install the window adapter?
Here's a step-by-step guide for installing your window adapter:
- Initial Assembly: Lightly connect Window Panel 1 (with two holes) and the Extension Panel (solid panel) using the Expansion Anchor Pins. Only connect the overlapping part and ensure the panels are secure enough to lift with one hand.
- Mark the Window Shape: Hold the assembled panels up to your car window. Use a marker to trace the outline of your window on the panels.
- Trim to Fit: After marking, disassemble the pins and carefully cut away any excess from the panels based on the traced lines. If you're unsure about the fit, leave a bit of extra material to avoid cutting too much off. You can always trim more later if needed.
- Final Assembly: Once trimmed, reconnect Window Panel 1, Window Panel 2, and the Extension Panel (if needed) using the Expansion Anchor Pins and Spacer Grommets to create space between the two panels.
- Install the Adapter: Lower the car window enough so that the bottom of the two panels with cutouts can fit over the glass. Slowly raise the window while aligning the gap between the two panels with the window frame. The panels should "sandwich" the window glass and frame, securing the adapter in place.
- Attach the Exhaust Hoses: After securing the window adapter, insert both rear ducts through the round cutouts in the panels.
For more detailed instructions, watch our video: Window Adapter Installation.
Please note: the Window Panels and Expansion Anchor Pins & Spacer Grommets are special gifts and not included as standard accessories.
We're also working on new window adapter designs. If you have suggestions or specific use scenarios, feel free to share them in the comments below!
How do I install the ducts?
-
Front Inlet Duct:
- Remove the mesh filter.
- Install the front inlet adapter.
- Attach the duct to the adapter by twisting it in place, then stretch the duct out.
-
Front Outlet Duct:
- Install the front outlet adapter.
- Attach the duct to the adapter by twisting it in place, then stretch the duct out.
-
Rear Outlet Duct:
- Install the rear outlet adapter.
- Attach the duct to the adapter by twisting it in place, then stretch the duct out.
-
Rear Inlet Duct:
- Remove the vent cover.
- Install the rear inlet adapter.
- Attach the duct to the adapter by twisting it in place, then stretch the duct out.
For a visual guide, watch this video: Duct Installation Guide.
How long does a single Mark 3 battery last, and how do I recharge it?
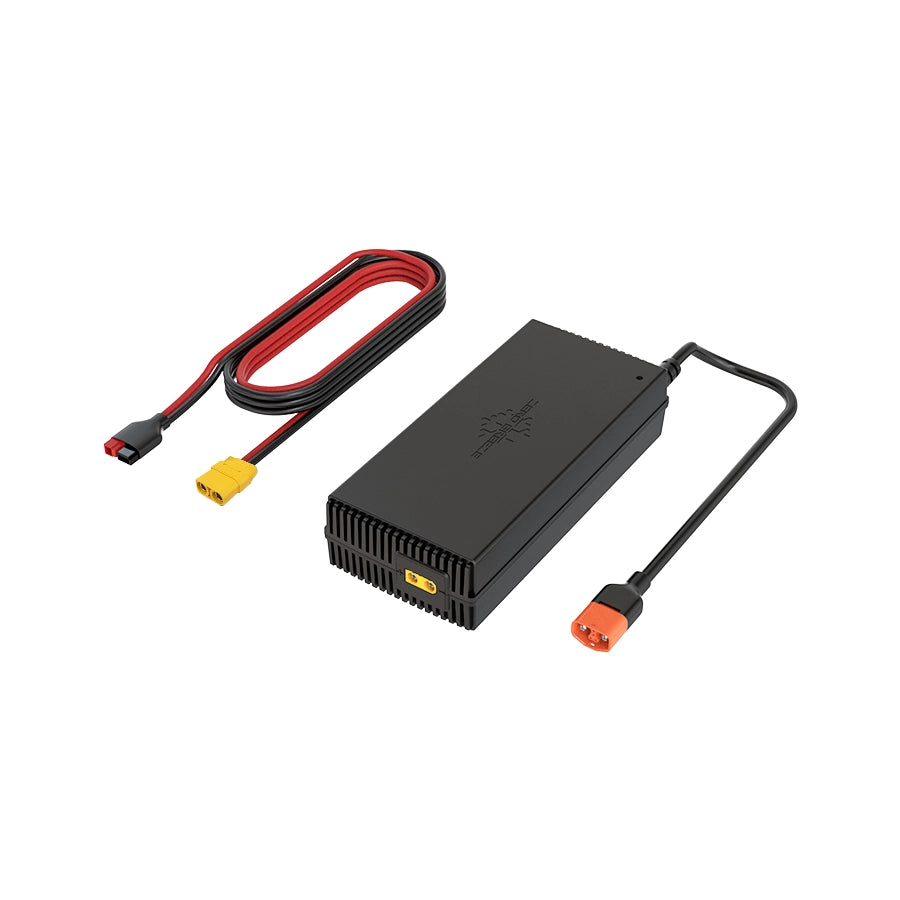
A fully charged Mark 3 battery can power the unit for 2–7 hours, depending on which cooling mode and temperature settings you use. Its DC charging range of 12V–60V makes it incredibly versatile—you can recharge it from a car cigarette lighter, solar panels, portable power stations, or a standard wall outlet. Plus, it only takes about 2 hours to reach 80% capacity.
For longer cooling sessions, you can stack multiple batteries together so you don’t have to get up during the night to swap one out. Simply connect the Mark 3 to your battery stack and enjoy continuous, refreshing air without interruption.
What does the E20 code mean?
The E20 code you're seeing is a protection alert, indicating that the ambient temperature is too low for the Mark 3 to operate safely. For optimal performance, the Mark 3 is designed to function in environments with temperatures between 50°F and 104°F. Keep in mind that this range might vary slightly depending on real-time conditions and the temperature readings detected by the sensors at the inlets.
Tips from Our Community
Our users have shared some helpful tips to make the most out of your Mark 3:
- Heating Function:
The Mark 3's heating mode is a supplemental feature, ideal for maintaining warmth in moderately cold environments. It's not meant to replace a traditional heater but is perfect for maintaining a comfortable temperature after preheating your space.
- Drainage Pipe
Always remember to install the drainage pipe before use to prevent any condensate spills, as the Mark 3's built-in water pump handles the drainage automatically.
Share Your Experiences and Feedback
We are beyond grateful for all of you who have shared your experiences and feedback about the Mark 3. Your stories not only motivate us to continually improve but also help fellow adventurers make the most of their product. Whether you’re exploring new features, troubleshooting, or sharing your own journey, join our Facebook group: ZERO BREEZE Mark 3 Off-grid Portable A/C.
Thank you again for your support—we look forward to hearing more about how ZERO BREEZE is helping you stay cool and comfortable during your outdoor adventures!


Leave a comment