How to Set Up the ZERO BREEZE Mark 2 A/C in 3 Easy Steps
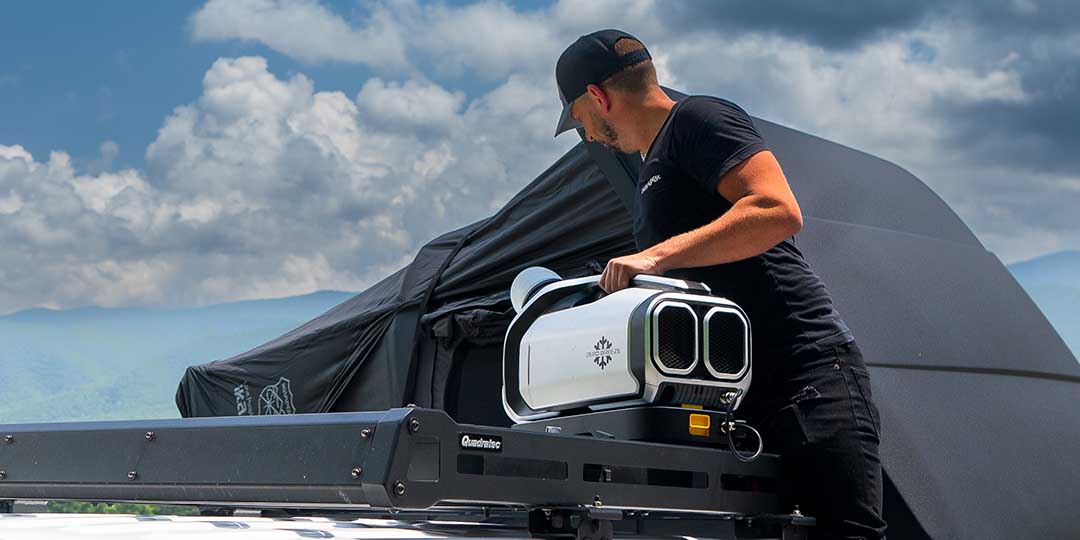
The ZERO BREEZE Mark 2 Portable A/C is your go-to cooling solution for any adventure. Whether you're camping, on a road trip, or need extra cooling at home, this compact unit is designed for ease of use in any outdoor environment. Unlike bulky roof A/C units or auxiliary power units (APUs), the Mark 2 requires no complicated installation—saving you time, money, and avoiding the hassle of tangled wires. Plus, its compact design means you won’t have to worry about height restrictions when parking in campsites or lots.
Powered by a battery, the Mark 2 eliminates the need for fuel, filters, or van modifications. It's perfect for van life, camping, or wherever you need to stay cool. And the best part? It's incredibly user-friendly. This guide will walk you through setting it up in just three simple steps.
Step 1: Connect to a Power Supply
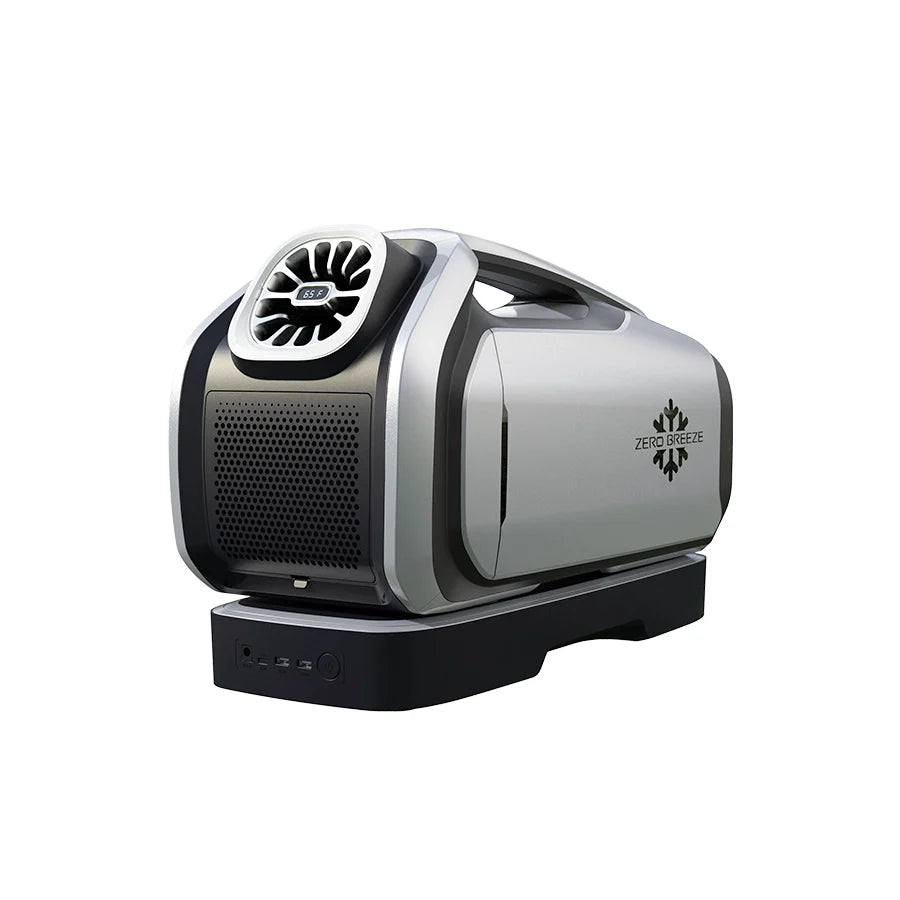
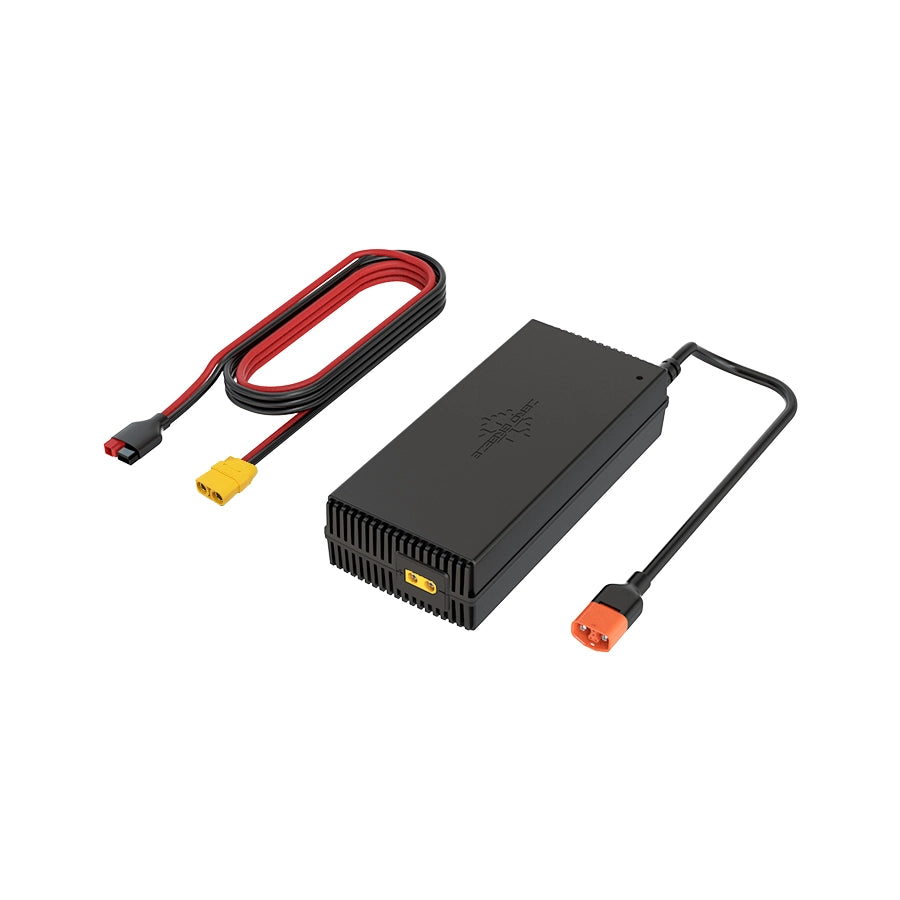
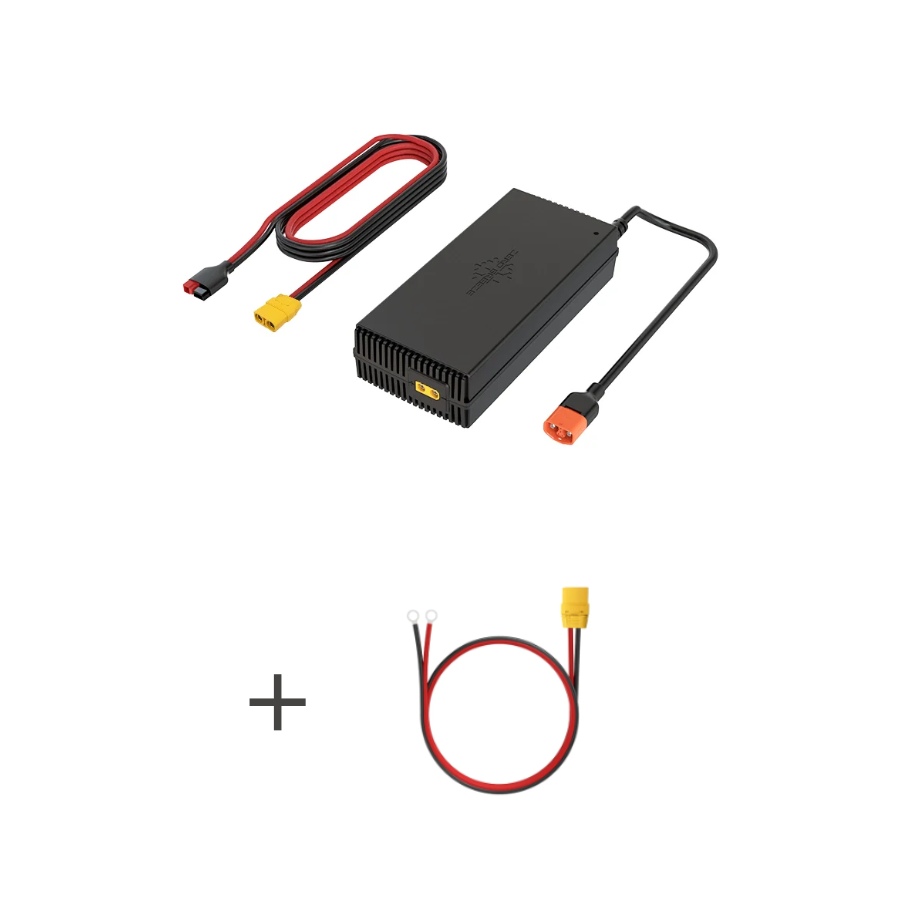
First things first, let’s get your ZERO BREEZE Mark 2 A/C powered up. Start by using the standard cables that come with your unit. You’ll need a 24V DC power source with a minimum output of 240W and 10A current. If you don’t have this setup, don’t worry—there are other versatile options you can use to power the Mark 2.
If you're using the Mark 2 A/C Plus, it includes a battery and a cord to connect it directly to the A/C.
To attach the A/C to the battery, follow these steps:
Hold the A/C above the battery, aligning the four clips on the battery with the slots on the A/C.

Tilt the A/C slightly backward and gently lower it onto the battery.

Slide the A/C forward until you hear a click—that’s how you know it's securely attached.

Once the A/C is attached, simply connect the battery to it using the cord provided.

Step 2: Attach the Drainage Pipe
Next, let's deal with the condensation. Attach the drainage pipe to the designated outlet on the Mark 2.
Make sure the pipe directs the condensation water to an appropriate drainage spot. To prevent water from flowing where you don’t want it, slightly elevate the front of the unit higher than the rear.

Step 3: Set Up the Air Ducts
With everything set up, it's time to turn on your Mark 2 A/C. Choose your preferred mode and fan speed, then sit back and enjoy the refreshing cool air in any open space.

If you want the air to flow directly toward you, simply attach the duct to the front outlet and aim the airflow in your direction.

For enclosed spaces, it's best to use the air ducts to enhance the Mark 2's cooling efficiency. While you might see different setups from other users online, finding the right one for you starts with understanding the cooling system.
The Mark 2 has two sets of inlets and outlets—one in the front and one in the rear. The front inlet and outlet draw in air to cool and then release the cooled air. The rear inlet and outlet are designed to intake air to help remove hot exhaust air and expel the heated air.

Reduce the Space the A/C Needs to Cool
The larger the space, the more power and BTUs are required for effective cooling. With 2,300 BTUs, the Mark 2 is ideal for small spaces but may struggle with cooling an entire van or truck camper. However, it’s extremely energy-efficient, allowing you to conserve power for other essentials like your refrigerator.
To get the most out of the Mark 2 and reduce energy consumption, try minimizing the area you need to cool. Adding a curtain around your sleeping space can help concentrate the cool air, making the A/C more effective.
For example, Ben Coleman used this method in his truck camper, cutting the cooling space by two-thirds with a curtain. This simple change dramatically improved cooling efficiency and saved power.

Vent Out the Rear Hot Air
Venting out the exhaust air is crucial when using the Mark 2 in a confined space where windows and doors are usually closed.
First, slightly stretch the duct connectors and screw them into the rear duct adapter. Next, press the button on the adapter to securely connect it to the rear exhaust.

Finally, direct the ducts out, and make sure to separate the rear inlet and outlet ducts. This prevents the intake from drawing in the hot air expelled by the outlet, ensuring more efficient cooling.

Utilize the Front Inlet and Outlet
To use the front inlet, you’ll need a front inlet adapter, which you can purchase from our store or 3D print using the STL file available in our Mark 2 community.
Start by removing the front inlet board, then attach the adapter to the front inlet.

Screw in the duct and direct both the inlet and outlet toward the area you want to cool.

Using the front inlet and outlet provides similar cooling efficiency to venting the rear ducts, so you can choose whichever setup works best for you without needing to connect all the ducts.
For those looking to maximize efficiency, you can connect the rear ducts with only the outlet duct attached. Then, direct the exhaust air away from the inlet. This setup allows the A/C to draw in cooler air instead of the air expelled by the rear outlet.

Avoid Negative Pressure
The cooler the air entering the A/C—whether through the front or rear inlet—the cooler the output will be. You might consider placing the rear inlet duct inside the space you're cooling to achieve this.


While this might produce cooler air initially, over time it will decrease the air supply in the space, creating negative pressure as air is continually expelled without being replaced.

To avoid this, we recommend not using this setup in relatively insulated spaces like a tent or sleeping area, as it can reduce the A/C’s effectiveness.
By following these steps, you’re now a "pro" at using the Mark 2 portable A/C—congratulations!
If you’re looking for a specific setup demonstration for your vehicle, be sure to check out our YouTube How-to video playlist. If your vehicle isn’t featured, let us know, and we might consider creating a video just for it!
Plus, many of our users have shared their Mark 2 setups in our community and have won cool gifts. Share your setup to inspire others, and you could win surprises or accessories to upgrade your gear!


Leave a comment